Last updated November 18, 2026








Free written scope consultation - allowances, timeline, and change-order rules on paper before a single trade is scheduled
General Contractor Maintenance Schedule: What to Do and When
Most remodel warranties aren’t voided by bad workmanship. They’re voided by a caulk joint nobody resealed. That twelve-dollar bead of sealant around a tub surround, left alone for two years, lets water wick behind the tile and into the framing. By the time the ceiling below stains, you’re not looking at a $12 fix. You’re looking at drywall, substrate, and possibly a section of subfloor. In our experience across Oakland remodels, the failures that turn into claims almost always trace back to a maintenance window the homeowner never knew existed. This guide gives you the calendar: what to check, when to check it, and which tasks protect your guarantee versus which were always yours to own.
Quick Answer
A newly remodeled home needs its first full inspection at 6 months, then seasonal checks twice a year (spring and fall), with caulk joints and grout lines resealed every 12 to 24 months. Exterior paint and sealants should be evaluated annually and refreshed every 5 to 7 years. Mechanical connections – supply lines, shutoffs, and drain fittings – need eyes on them once a year. Anything you spot at a scheduled check is a small repair; anything you spot after water has already moved is a project.
Styles & brands we work with
- Kitchen remodeling
- Bathroom remodeling
- Home additions & ADU
- Roofing
- Windows & doors
- Driveway & pavers
- Fence
Table of Contents
- The First-Year Checklist, Month by Month
- How Oakland’s Climate Stresses Your Finishes
- What Preserves Your Guarantee and What Doesn’t
- Building a Home Binder So Future Work Goes Faster
- The Seasonal Inspection Calendar
- Five-Year and Ten-Year Benchmarks
- Common Mistakes to Avoid
- When to Call a Professional
The First-Year Checklist, Month by Month
New construction and remodeling move. Wood framing shrinks as it dries, tile adhesive cures, and cabinets settle onto their shims. None of that is a defect – it’s physics. What separates a small adjustment from a repair is whether you catch the movement before water or air gets into it. Here’s the schedule we hand homeowners at project close, and the one we’d hand you whether or not we did the work.
- Month 1: Walk every caulk joint in wet areas – tub-to-tile, sink-to-counter, shower corners. Look for hairline separation. Note it. Don’t panic over a gap the width of a credit card; do photograph it.
- Month 2: Open every cabinet and look at the supply lines under sinks. Check that shutoff valves turn and that no fittings weep. A slow drip under a kitchen sink in Oakland’s older housing stock can run along a joist for months before it shows.
- Month 3: Check door and window operation. If a door has begun to stick, the framing is still drying. If a window won’t latch, the sash or the rough opening has shifted and it’s worth a call.
- Month 6: The first real inspection. Recheck all caulk and grout, look at exterior penetrations where siding meets trim, and confirm the mechanical connections you checked at month two are still dry.
- Month 9: Look at exterior paint film on south- and west-facing walls. Any chalking or hairline cracking at joints tells you the rainy season will get in.
- Month 12: Full annual inspection and reseal of anything that’s opened up. This is also the natural moment to schedule a walk-through with the contractor who did the work, if that’s available to you.
If you’re planning a bathroom project and want to understand how the substrate and waterproofing layers affect this schedule, our page on Bathroom Remodeling in Oakland walks through the materials and why they matter at year one.
How Oakland’s Climate Stresses Your Finishes
Oakland sits in a Mediterranean climate – wet winters, bone-dry summers, and a marine layer that keeps humidity high well into the morning. That combination is harder on exterior finishes than either a wet climate or a dry one, because the wood and paint film cycle between absorbing moisture and drying out, over and over, every year.
What that means for your calendar:
- Fall is the critical inspection window. Before the first real rain, walk the exterior and check every caulk joint at trim, window frames, and siding penetrations. Water getting behind exterior paint in October is the single most common cause of the dry-rot repairs we see in Oakland.
- Spring is the correction window. Once the rains stop, any joint that opened over the winter should be resealed before the summer sun bakes it wider. Heat expands wood and pulls caulk away from surfaces that moved.
- South- and west-facing walls need more attention. Afternoon sun in the East Bay is brutal on paint film. Those walls chalk and crack faster than north-facing ones, so budget for them on a shorter cycle.
- Hillside homes in the Oakland Hills see more wind-driven rain than flatland neighborhoods, which drives water into joints at a different angle. If you’re above the MacArthur Maze, check exterior sealants twice a year, not once.
For full exterior envelope considerations, our General Contractor in Oakland page covers how siding and trim choices interact with the local climate over a decade.
What Preserves Your Guarantee and What Doesn’t
Here’s the part most homeowners learn too late: a workmanship guarantee covers the work, not the wear. If a shower pan fails because the waterproofing was installed wrong, that’s on the contractor. If it fails because a grout line was left unsealed for three years and water got behind the tile, that’s maintenance – and most guarantees, including the 365-Day Done Right Promise we operate under, distinguish between the two.
What preserves the guarantee:
- Performing the recommended maintenance on the schedule the contractor gives you, and keeping a record of it.
- Reporting an issue when you first notice it, not after it’s spread.
- Not modifying the work – no drilling into a waterproofed wall, no swapping a fixture without checking whether it’s covered.
- Letting the original contractor back in to inspect if something looks wrong, rather than hiring someone else to open it up first.
What’s owner-responsibility from day one:
- Caulk joints in wet areas, which are wear items.
- Grout sealing on tile floors and walls.
- Exterior paint film and the caulk at exterior penetrations.
- Filter changes, shutoff valve operation, and general mechanical checks.
Know the difference before something fails, because it determines who pays for the fix. We put our guarantees in writing on every project so there’s no argument later about what was covered – and a written guarantee is worth more than a verbal assurance when a joint opens at year two.
Building a Home Binder So Future Work Goes Faster
The single best thing you can do after a remodel is document what’s behind the walls. A future contractor opening up a wall with no idea what’s in it is a slow, expensive guessing game. A homeowner who can hand over a binder with product names, install dates, and photos turns a two-hour exploratory visit into a fifteen-minute confirmation.
Here’s what to put in it, in order of usefulness:
- Product list with brand names. The cabinetry line (KraftMaid and Wellborn both use specific hardware and touch-up systems), the countertop material (Cambria quartz, Silestone, and Caesarstone all have their own care requirements and warranty terms), and the fixtures (a Kohler or Moen valve cartridge has a specific replacement part number that saves a plumber a trip).
- Installation photos, especially before the walls closed. Photos of the framing, plumbing rough-in, and substrate layers are gold if anything needs to be opened later.
- Material specifications and warranty cards. Every product you buy comes with its own warranty separate from the contractor’s workmanship guarantee. That’s two layers of protection, and the cards are the proof.
- Service and maintenance log. Date, task, who did it. A simple three-column list works fine.
- Contact sheet for the trades. Who did what, so you know who to call about a specific component.
If you’re planning a kitchen project and want to get a head start on the product documentation before the crew arrives, our Kitchen Remodeling in Oakland page outlines the choices that drive both cost and long-term maintenance.
The Seasonal Inspection Calendar
Here’s the calendar reduced to its essentials, in a form you can print and stick to the refrigerator. Two checkpoints a year carry almost all the weight; everything else is a light review at the six-month point.
| Season | What to Check | What to Do | Typical Cost |
|---|---|---|---|
| Fall (Sept – Oct) | Exterior caulk at trim, windows, siding penetrations; roof flashing visible from ground | Reseal any open joints; note cracked paint | Under $100 in caulk and a Saturday |
| Winter (Nov – Feb) | Interior wet areas, supply lines under sinks, caulk joints in tubs and showers | Recheck drips; open cabinets after storms | Free (visual) |
| Spring (Mar – Apr) | Exterior paint film, grout lines throughout the house, paver joints on patios or driveways | Reseal grout; schedule paint touch-ups | $50 – $200 for grout and sealant; $400 – $1,200 for exterior paint touch-ups |
| Summer (May – Aug) | HVAC condensate line, exterior hose bibs, deck fasteners, paver joint sand | Clean condensate line; check paver joints and refresh sand where needed | $30 – $150 in materials |
If you have a hardscape – a patio, a walkway, a driveway – the joints between pavers are the maintenance item most homeowners forget. Polymeric joint sand from a manufacturer like Quikrete or Oldcastle, or a properly set joint on a Techo-Bloc or Cambridge Paver installation, will hold for years when it’s refreshed. Let it wash out and weeds and water do the rest. A paver drive that was installed correctly can still fail within five years if the joints are left open through two Oakland winters.
For a home-wide view of how all these systems tie together, our Penhallow Remodeling Oakland home page gives the larger picture of the projects we serve.
Five-Year and Ten-Year Benchmarks
Some maintenance is a calendar item. Some is an inspection that’s worth paying for because the cost of missing it is a whole new project. Here’s what each milestone deserves.
Year five: Call your original contractor for a walk-through if they offer it, or hire a general contractor to do a one-time inspection. The cost of a walk-through is typically $150 – $400 in the Oakland market, and the value is in the trained eye on things you can’t see: evidence of water behind tile, movement in framing, failing exterior sealants before they turn into dry rot. This is the moment to look at the whole envelope, not just the pretty surfaces.
Year ten: This is the point where big-ticket maintenance comes due. Exterior paint on a well-maintained home is ready for a full repaint in the 7 – 10 year range. Bathroom caulk and grout, even maintained, will have been through a decade of wet-dry cycling. Roof flashing and siding joints need a real look. A full inspection at year ten in Oakland typically runs $300 – $700 and will tell you in one visit whether you’re looking at another five years of low-maintenance living or a repaint and reseal project.
The pattern’s the same at both milestones: catch it at five and ten, not at seven and twelve after something’s gone wrong. The cost of the inspection is a rounding error compared to what it prevents.
Common Mistakes to Avoid
- Skipping the fall exterior check because the weather’s still nice. In Oakland, the rain shows up almost without warning, and by the time you notice water staining on interior trim, it’s been running behind the paint for weeks. Check in September, not November.
- Treating caulk as a permanent fix. Caulk is a wear item with a lifespan of 12 to 24 months in wet areas, whether it’s a $12 tube or a $40 tube. It’s supposed to be redone. Plan for it.
- Letting a small drip run. A weeping supply line under a kitchen sink can look harmless for months. In Oakland’s older housing stock, water travels along joists and shows up in a ceiling far from the source, which turns a $30 fix into a $3,000 drywall and framing repair.
- Ignoring paver joint sand. A homeowner who lets the joints wash out on a patio or drive is looking at a re-sand or a re-setting, and both cost more than refreshing the sand once every two years.
- Hiring a different contractor to look at a covered item first. If it’s still under the original workmanship guarantee, let the original contractor in. Opening a wall yourself, or having someone else do it, can cost you the coverage.
- Not keeping documentation. A binder with product names and install photos saves hours and dollars down the road. No product card, no warranty claim.
- Confusing “new” with “maintenance-free.” A kitchen or bathroom installed with proper substrate and materials will hold for decades if maintained. Left alone, it holds as well as its weakest joint, and there’s always a weakest joint.
See the difference
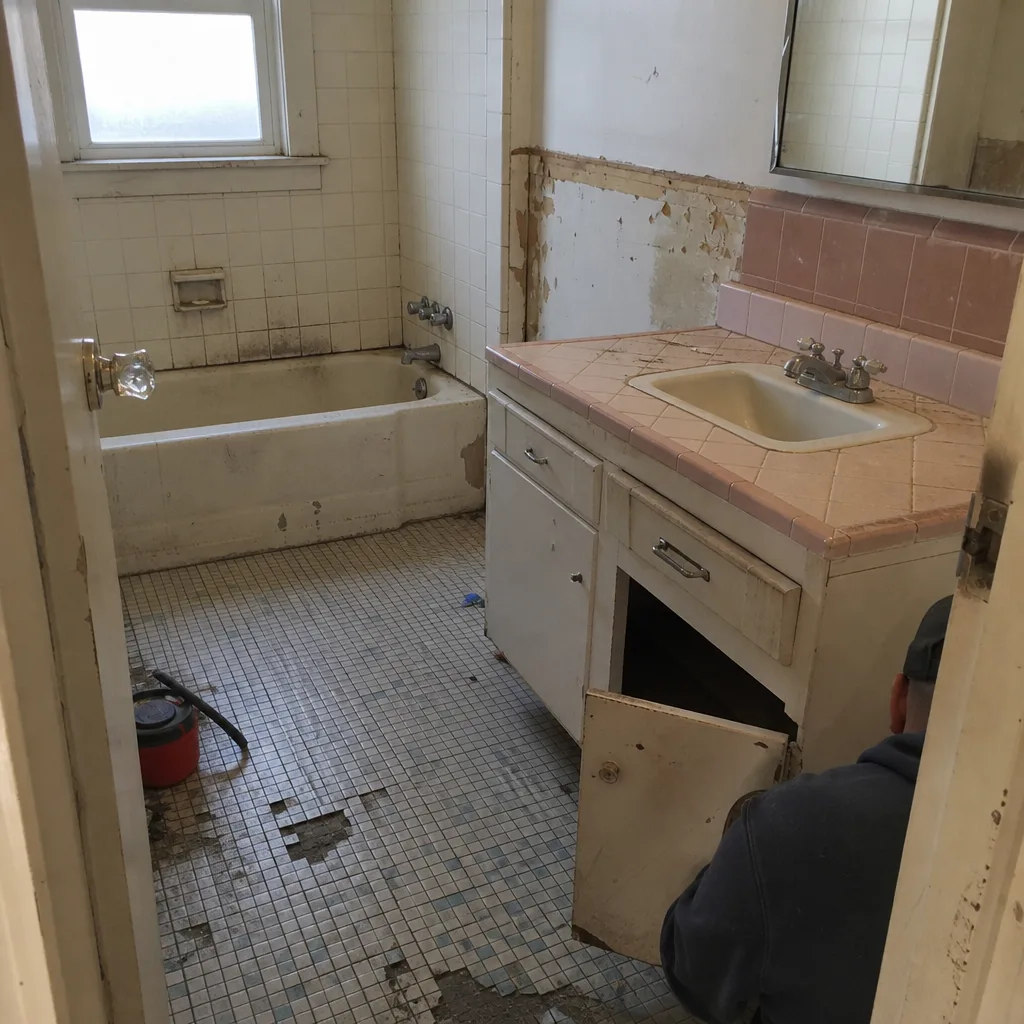 Before
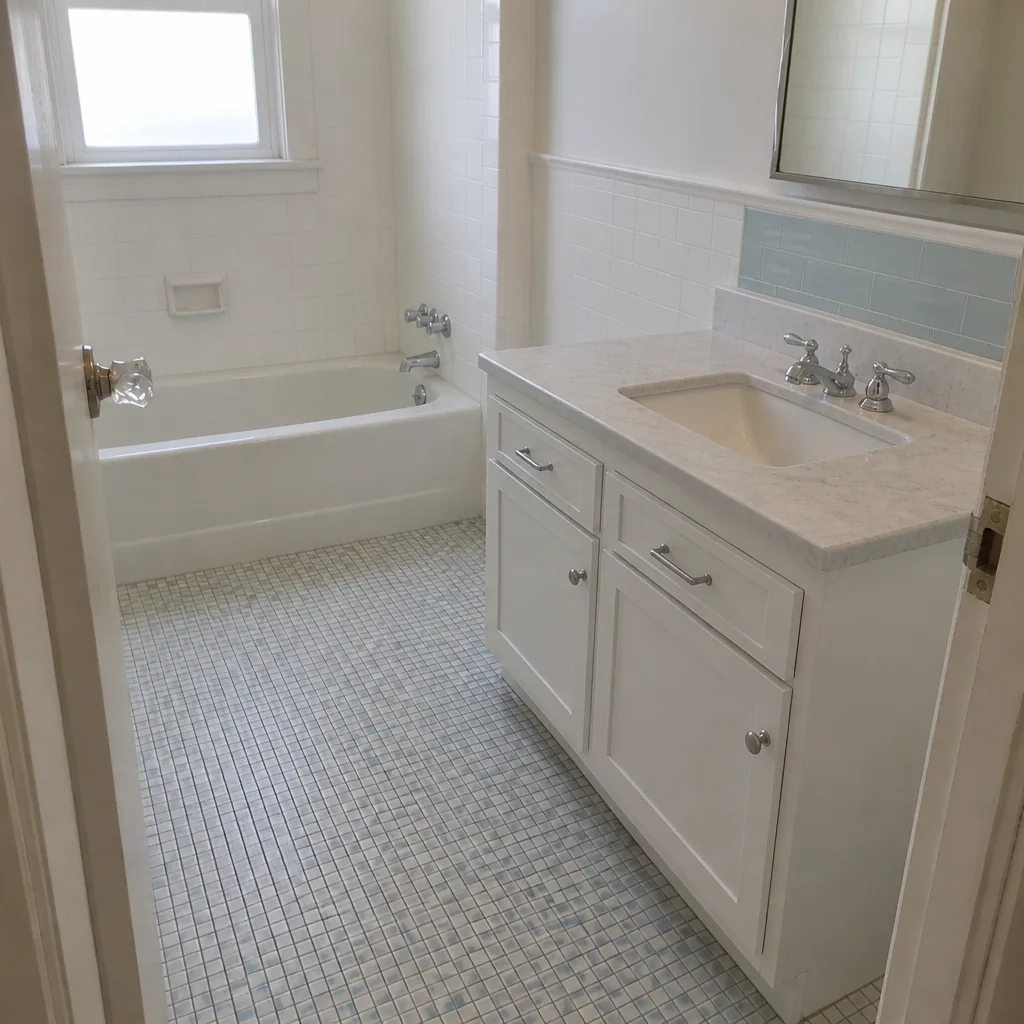 After
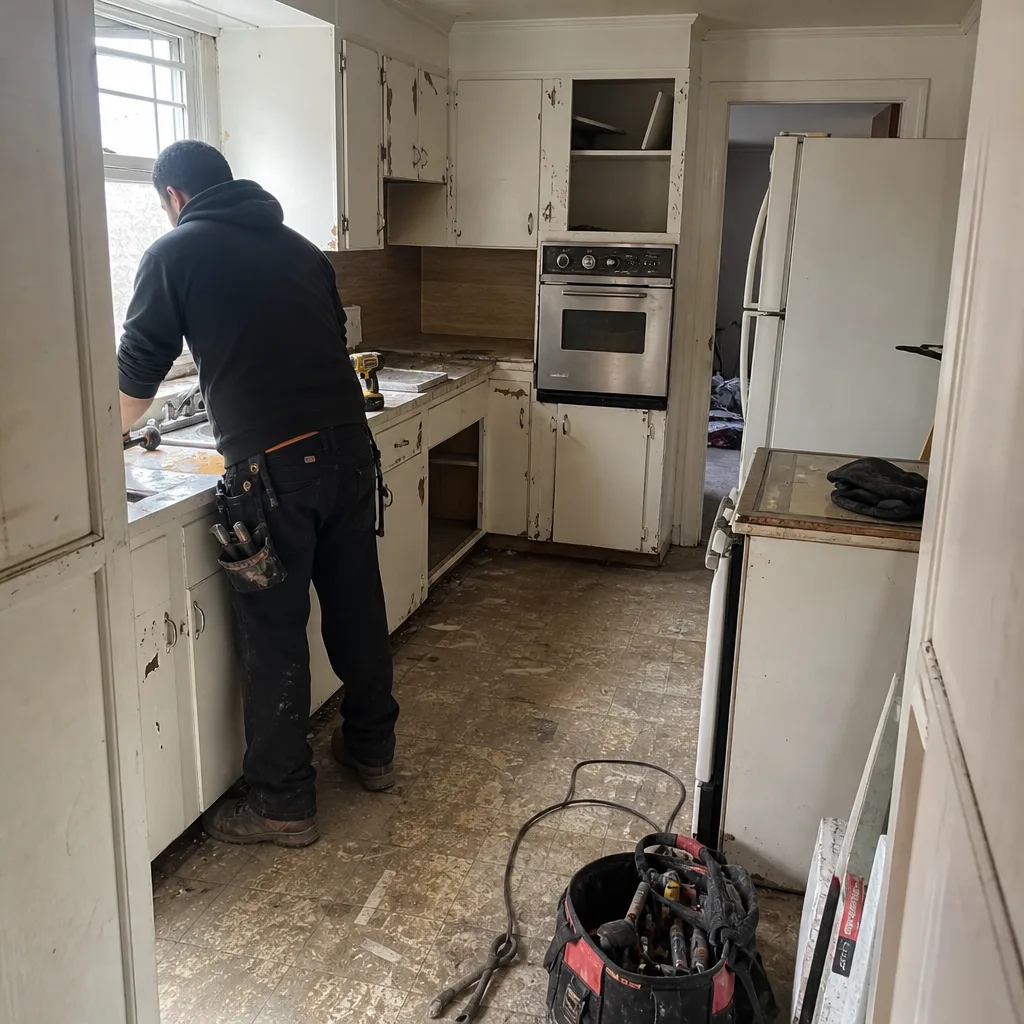 Before
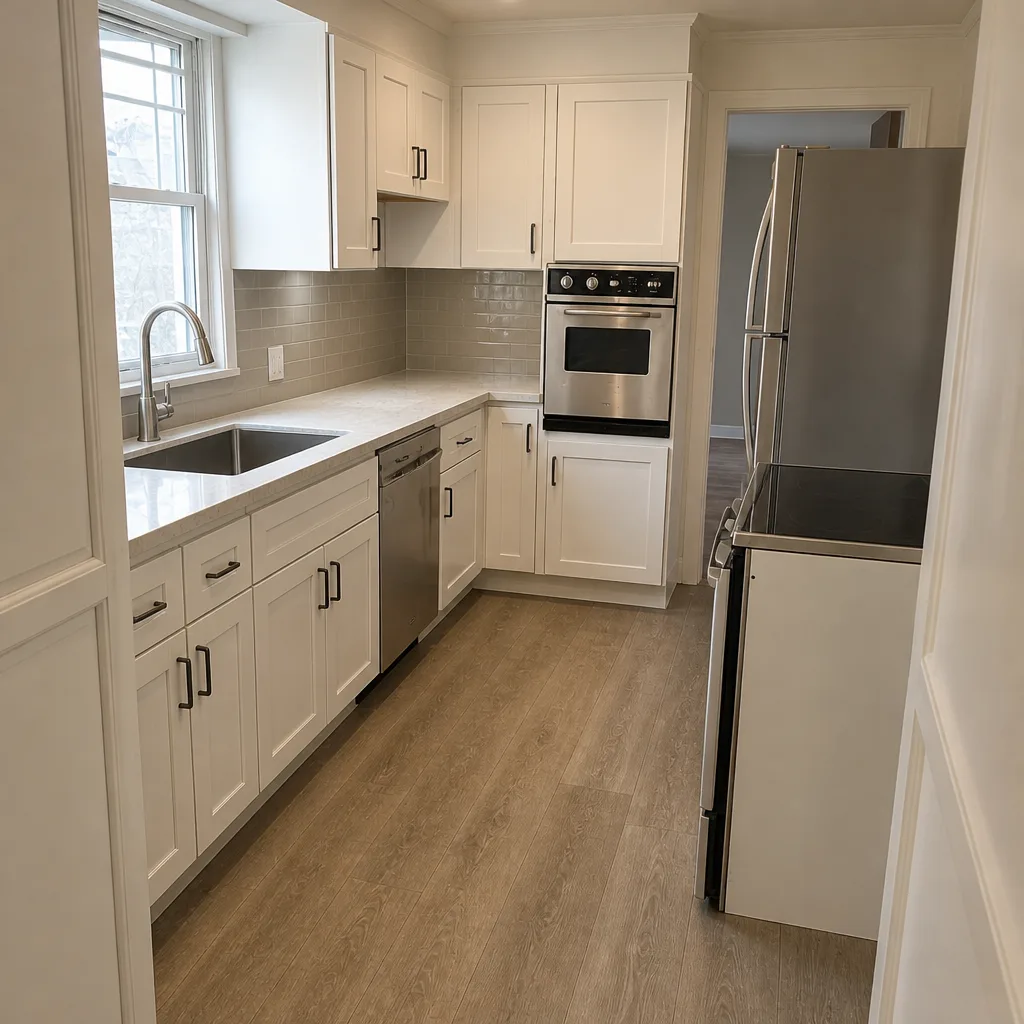 After
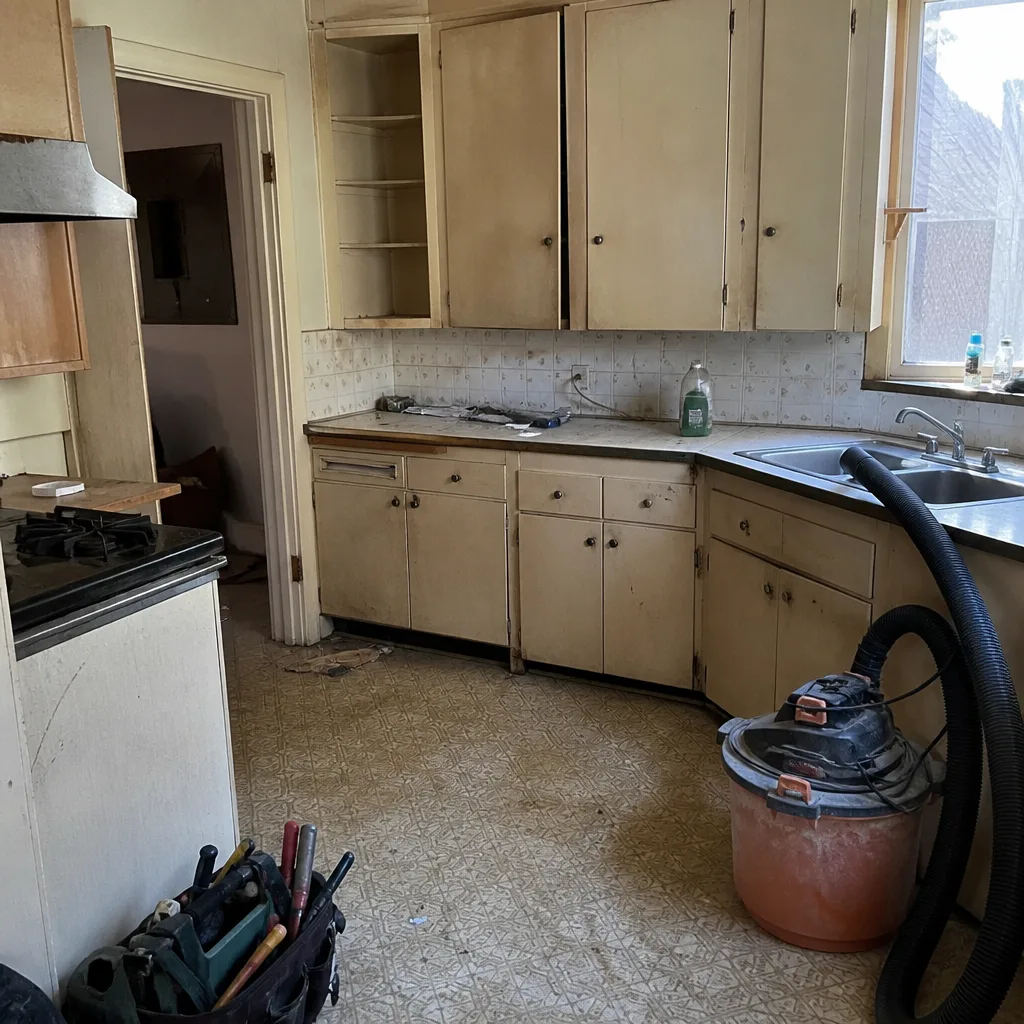 Before
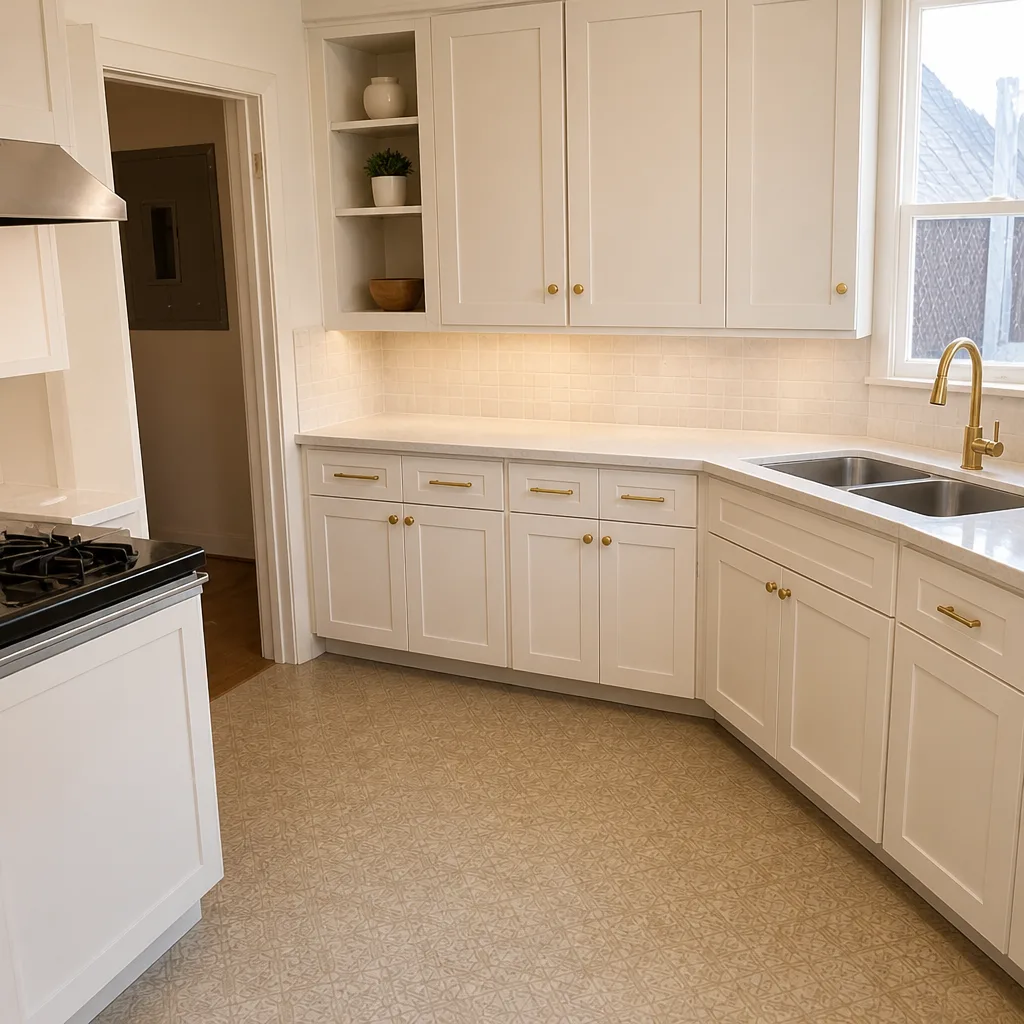 After
When to Call a Professional

Call a professional when you see water where it shouldn’t be, when a joint opens and stays open after resealing (that’s movement, not wear), when exterior paint is chalking or cracking across a large area rather than at joints, or when a door or window has stopped operating correctly. Also call if you’re at the five-year or ten-year benchmark and haven’t had a walk-through – a trained eye sees what a homeowner can’t, and the inspection is far cheaper than the repair it prevents.
Penhallow Remodeling Oakland offers free estimates in Oakland – call (888) 403-1237. Our technicians have up to 22 years of experience and are background-checked and uniformed. Every job gets a written price before any work starts and our 365-Day Done Right Promise in writing, so you know what’s covered and what it costs before anyone picks up a tool.
Frequently Asked Questions
Twice a year is the working rule: a fall check before the rain and a spring check as things dry out, with a full first-year inspection at the six-month mark. The first year matters most because new construction moves, and the six-month check catches settling before water gets into it. Everything after that is a matter of keeping to the calendar.
It can, and often does. A workmanship guarantee covers installation defects, not wear items. If a tub surround fails because the caulk was never maintained, that’s on the homeowner in most written guarantees. If it fails because the waterproofing was installed wrong, that’s a workmanship issue and it’s covered. The key is knowing which is which, and the best way to know is to have the guarantee in writing before the work starts. Call (888) 403-1237 for a free estimate and a written guarantee on your project.
The supply lines and shutoff valves under the sink are the highest-priority item, because a slow drip travels along framing and shows up far from the source. Caulk at the backsplash and around the sink rim is next, followed by the exterior wall on the kitchen’s outside face, which takes the most weather. Check all three in the first year and you’ll catch the expensive ones early.
Budget $300 to $600 a year for materials and small repairs on a typical renovation – caulk, grout sealant, paint touch-ups, and paver joint sand if you have hardscape. Add $150 to $400 for a professional walk-through at the five-year mark. That’s a fraction of what a single water-damage repair costs, and it’s the cheapest insurance on a project you’ve already paid for. Call (888) 403-1237 for an exact quote on inspection and any repairs it turns up; estimates are free.
Yes, on the same rough cycle as everything else outdoors: sealants every 12 to 24 months, paint film every 5 to 7 years, paver joint sand every 2 years. Oakland’s wet-winter, dry-summer cycle stresses exterior finishes more than a steady climate, so the maintenance windows matter here. A properly set paver joint installed with a product like Techo-Bloc or Cambridge Paver specifications will hold for years with routine refreshing, and far less without it.
Yes. We offer a walk-through inspection for homeowners at the five-year and ten-year marks, and we back the visit with a written report of what we find and what it costs to correct. If the work falls inside our 365-Day Done Right Promise, we come back and fix it at no charge. If it’s outside the window, you get a written price before any work starts, so the number on day one is the number on the invoice. Call (888) 403-1237 to schedule your free estimate.
The Bottom Line
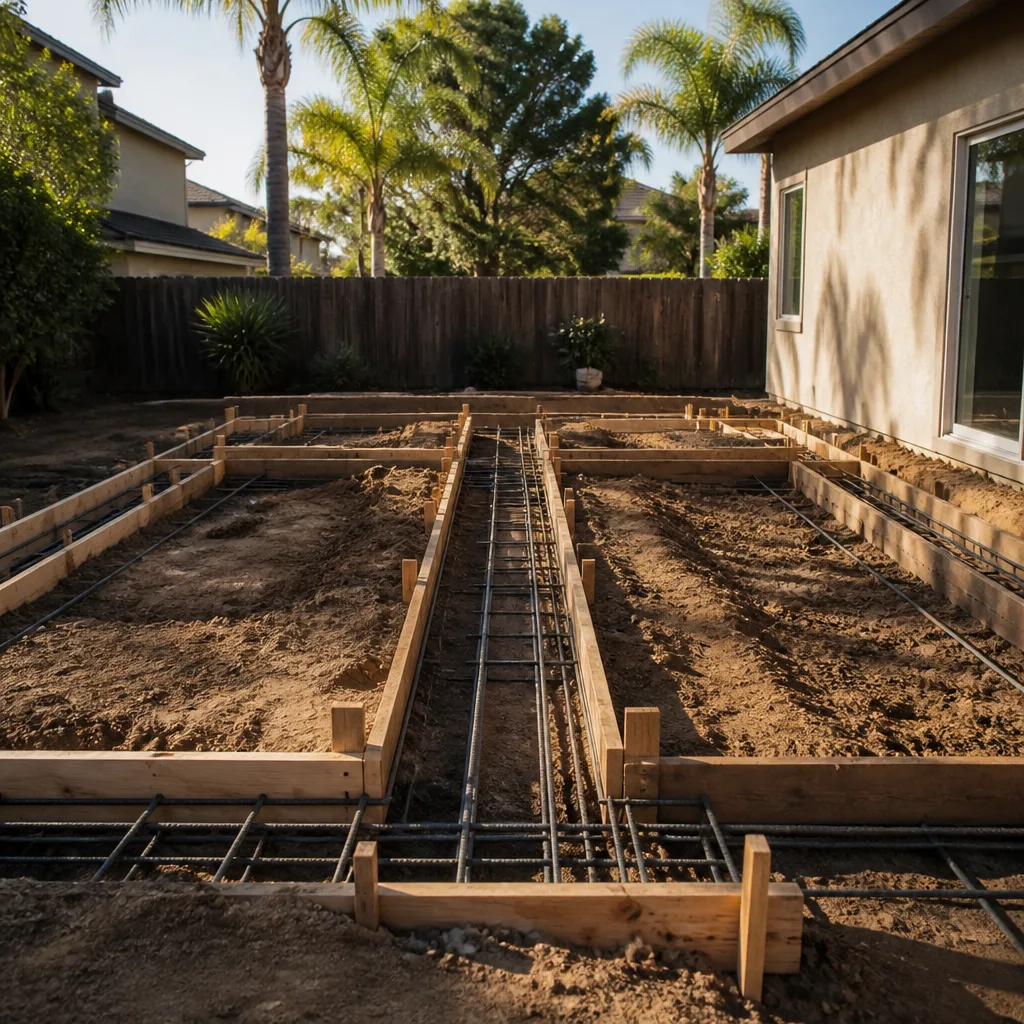
Maintenance on a remodeled home isn’t a reaction to something going wrong – it’s a calendar. Two checkpoints a year, a full inspection in the first year, a professional walk-through at five and ten, and a binder that documents what’s behind the walls. That’s the schedule. The cost of keeping to it is small: a tube of caulk, a bag of joint sand, a Saturday in September before the rain. The cost of skipping it is the kind of damage that turns a maintained home into a new project. In Oakland’s climate, the difference between those two outcomes is often a single fall inspection you either did or didn’t do.
If you’re facing a repair, a re-seal, or a whole new project and want a written price before anyone picks up a tool, give us a call. A real person answers the phone 24/7, and the estimate is free.
Call (888) 403-1237 to schedule your free estimate with Penhallow Remodeling Oakland.
Written by the team at Penhallow Remodeling Oakland.