Last updated November 18, 2026








Free written scope consultation - allowances, timeline, and change-order rules on paper before a single trade is scheduled
Bathroom Remodeling Maintenance Schedule: What to Do and When
Grout sealer on a newly tiled shower lasts about twelve months under normal use. Most homeowners never reseal it. By year two, the grout is absorbing water on every shower. By year three, the cement board behind the tile may already be holding moisture it can’t release. That’s the uncomfortable math behind a bathroom remodel: the biggest risks to a $20,000 job aren’t installation failures, they’re small maintenance habits skipped for two or three years running. The good news is that a remodeled bathroom asks very little of you if you stay on schedule. This guide lays out exactly what to do at 30, 60, and 90 days after your remodel, then the annual rhythm that keeps tile, caulk, fixtures, and ventilation working for decades. We’ve walked through hundreds of Oakland bathrooms and know where they tend to fail first.
Quick Answer
A remodeled bathroom needs three to four hours of maintenance per year: resealing grout and recaulking wet areas once annually, checking supply lines under vanities twice a year, and running your exhaust fan 20-30 minutes after every shower. The most critical window is the first 90 days, when caulk fully cures, grout haze surfaces, and any settling shows up. Handle those early tasks and your bathroom will outlast its warranty by years.
Styles & brands we work with
- Kitchen remodeling
- Bathroom remodeling
- Home additions & ADU
- Roofing
- Windows & doors
- Driveway & pavers
- Fence
Table of Contents
- The 30-60-90 Day Post-Remodel Checklist
- The Annual Maintenance Schedule
- How Oakland’s Water Affects Your Fixtures
- Ventilation Habits That Prevent Mold in Oakland
- Keeping a Material Record for Future Repairs
- Seasonal Watchpoints for Oakland Bathrooms
- What Maintenance Actually Costs
- Common Mistakes to Avoid
The 30-60-90 Day Post-Remodel Checklist
The first three months after a remodel set the trajectory for everything that follows. Caulk goes through its full cure cycle in the first 30 days, which means it can shrink slightly, pull away from joints, or telegraph every bit of movement in the substrate. Grout haze, that milky film left on tile faces after installation, sometimes appears after the first few cleanings as residual minerals work their way up. Fixtures that seemed perfect on day one sometimes reveal a slow drip after a few weeks of pressure cycling. Catching these in the first 90 days means they’re free to fix. Catching them at year two means they’re yours.
Day 30: Cure Inspection
- Inspect all caulk joints in the shower, around the tub, and along the vanity backsplash. Look for hairline gaps at the wall-to-tile or tub-to-tile transitions.
- Check the shower pan perimeter. Any soft spot or darkened caulk means moisture is getting behind it earlier than it should.
- Test every fixture. Turn the shower valve from cold to hot to cold, run both vanities, flush the toilet twice, and open the tub spout. Listen for water hammer and watch for drips under the sinks.
- Look for grout cracks in corners and along the floor-to-wall transition. Cracking here is expected; cracking in the field of the tile is not.
Day 60: Haze Removal and Finish Check
- Remove grout haze with a pH-neutral tile cleaner and a soft cloth. Avoid anything acidic on natural stone or cementitious grout.
- Inspect fixture finishes for spotting or etching, particularly on the shower trim where hard water sits. If you’re seeing white deposits, water is drying on the finish instead of being wiped down.
- Check the exhaust fan by holding a tissue against the grille; if it doesn’t stick, the fan isn’t pulling as it should.
Day 90: Settling and Adjustment
- Adjust door hardware. Doors swell with humidity in the first season; a quarter turn on the hinge screw often fixes a sticky door entirely.
- Recheck caulk once more. Any joint that’s opened since day 30 needs a recaulk, not another bead on top of the old one.
- Clean the exhaust fan grille and vacuum the intake; lint and dust cut airflow by a third in a few months.
If anything in these first 90 days looks wrong, the 365-Day Done Right Promise covers it. That’s the point of the first year: issues that surface now are installation issues, and they’re on us to fix. Penhallow Remodeling Oakland includes the 365-Day Done Right Promise in writing on every bathroom project, plus a free second visit if a repair fails.
The Annual Maintenance Schedule
After the first 90 days, your bathroom settles into a rhythm that takes three to four hours per year, spread across one weekend day or a couple of short evenings. The tasks below are ordered by risk, not by calendar. If you only do the first three, you’ve handled 80% of the problems that end in a repair call.
| Task | Frequency | Time | Typical Cost (DIY) |
|---|---|---|---|
| Reseal grout in shower and floor | Annual | 2-3 hours + 24-hour cure | $25-$45 for sealer |
| Recaulk tub and shower perimeter | Annual | 1 hour + 24-hour cure | $8-$15 for silicone caulk |
| Inspect supply lines under vanities | Every 6 months | 10 minutes | Free |
| Deep clean exhaust fan and grille | Every 6 months | 15 minutes | Free |
| Test GFCI outlets | Every 6 months | 5 minutes | Free |
| Clean shower head and aerators (descale) | Annual | 20 minutes | $5-$10 for descaler |
| Inspect toilet supply and flush valve | Annual | 10 minutes | Free |
The Three Must-Do Annual Tasks
- Reseal the grout. Penetrating sealer, not a topical film. Apply with a foam brush, wipe off the excess on tile faces within 10 minutes, and keep the shower dry for 24 hours afterward. If you can see water soak into grout rather than beading on the surface, it was due last year.
- Recaulk tub and shower perimeters. Remove the old caulk fully with a plastic scraper and caulk remover. Any caulk laid over old caulk will fail within a year. Use 100% silicone in wet areas; acrylic latex doesn’t belong in a shower.
- Check supply lines under every vanity and behind the toilet. Braided stainless hoses have a service life of about five years. If yours are showing cracked sheathing, rust at the crimp, or a bulge, replace them now. This one inspection prevents the most common bathroom water damage call we get in Oakland.
How Oakland’s Water Affects Your Fixtures
Oakland’s water is moderately hard, but the bigger issue for fixtures is variability. East Bay Municipal Utility District water can swing in mineral content depending on the source year, and pressure fluctuates across the hills during high-demand periods. That combination has two effects on a bathroom: mineral deposits build faster on chrome and brushed finishes, and pressure spikes stress the internal cartridges in single-handle valves more than steady pressure would.
What that means for cleaning products: skip anything abrasive on Kohler, Moen, or Delta finishes, even when the label says “gentle.” Soft scrub pads and powder cleansers dull brushed nickel and brushed gold within a year. A pH-neutral spray and a microfiber cloth handle almost every deposit. The exception is a mineral ring at the base of the faucet or around the drain; that needs a short soak in white vinegar, then a rinse and dry. Never leave vinegar sitting on the finish.
For pressure: if you’re on a hill in Montclair, Piedmont, or the Oakland Hills generally, and you notice a shower valve that has started whistling or a tub spout that surges, don’t dismiss it. Pressure spikes shorten cartridge life, and cartridges on quality brands like Moen and Delta are replaceable without touching the tile. That’s why we install trim from these lines in the first place; the parts are serviceable a decade out. Water quality also affects your choice of fixture finish. PVD finishes on Kohler and Delta products hold up better to Oakland’s mineral content than polished chrome, which shows every spot.
Ventilation Habits That Prevent Mold in Oakland
Oakland’s climate is mild and damp for much of the year, which means a bathroom with poor ventilation doesn’t dry out between showers. Morning fog rolls in, windows stay closed in the cooler months, and humidity that would evaporate in an hour in a dry climate hangs on your walls for a day. That’s the exact recipe for mold growth on the ceiling, in the caulk lines, and behind the vanity mirror. Fixing ventilation habits costs nothing. Upgrading a fan costs a few hundred dollars and pays back every winter.
The Habits That Matter
- Run the fan for 20-30 minutes after every shower, not five. The shower stops, the moisture doesn’t.
- Start the fan before the water runs, not after you’ve finished. You want airflow moving as the steam builds.
- Leave the shower door or curtain open after use so the interior can air-dry.
- Crack the bathroom door open 2 inches while the fan runs; a sealed bathroom with an exhaust fan running just depressurizes. Air needs a makeup path.
- Wipe down glass and stone walls with a squeegee after every shower. Twenty seconds, big difference.
When a Fan Upgrade Is Worth It
If your fan was installed before 2010, it’s likely rated at 50-70 CFM, which is underpowered for a typical Oakland hall bath by today’s standards. A modern 110 CFM fan with a humidity sensor runs when it needs to and shuts off on its own, so the habit piece takes care of itself. We spec fans rated to move 1 CFM per square foot of bathroom, minimum, and if the fan duct terminates in the attic instead of through the roof, that’s a problem worth fixing during the next remodel. Ducting to the attic just moves the moisture problem a few feet away.
Keeping a Material Record for Future Repairs
One small habit saves you hours of frustration years later: keep a record of every material installed in your bathroom. When a tile chips in 2031, you want the manufacturer name, the collection, and the color code, not a vague memory of “some gray tile.” When you need to touch up caulk, you want the exact product and color, not a guess at the home center. Build the record now, while you can still pull the details from the installation paperwork.
What to Record
- Tile brand, collection, color name, and lot number. Lot numbers matter; the same color can vary between production runs.
- Grout brand and color code. That’s a five-digit code on the bag or spec sheet; write it down.
- Caulk product and color. When we install a shower, the caulk used is a specific product line and colorway. Photograph the tube before it’s tossed.
- Fixture model numbers. Under every Kohler or Delta faucet is a model stamp; photograph the underside before it’s installed.
- Vanity and cabinet finish name. KraftMaid and Wellborn finishes are listed by name, and touch-up pens are available years after the fact if you know the code.
- Paint brand and color. Bathroom paint is often a different formula than the rest of the house; note both brand and sheen.
- Flooring product and batch, if you have tile or luxury vinyl.
Store the record digitally (a shared folder works) and physically (a labeled ziplock bag with a couple of spare tiles, if you have them). Ask your installer for two spare pieces of floor and wall tile; a good contractor leaves them behind as a matter of course. If you’re planning bathroom remodeling in Oakland, tell us up front you want a material log and we’ll build it into the handoff.
Seasonal Watchpoints for Oakland Bathrooms
Oakland bathrooms face a different seasonal rhythm than most of the country. Winter is the wet season, so exterior-facing bathroom walls are under more moisture load and window condensation is heavier. Summer brings dry heat that stresses caulk joints through expansion and contraction. Fall is when windows in an older Oakland bathroom start fogging on the inside every morning, which is a sign of ventilation debt from the summer. Each season has one thing to watch.
Seasonal Quick Checks
- Winter (Nov-Feb): Watch for condensation on window glass and exterior-wall paint. If the paint bubbles or blisters near the shower, moisture is escaping into the wall cavity. This is when we get the most calls about this in Oakland.
- Spring (Mar-May): Rainfall on an exterior wall can push water toward a bathroom window frame; check caulk around any window in the bathroom, inside and out. Re-seal if there’s a gap.
- Summer (Jun-Aug): Dry heat shrinks caulk joints. This is the season where shower perimeter caulk is most likely to pull apart; check once in July.
- Fall (Sep-Oct): Before the wet season starts, run your annual reseal and recaulk schedule. Doing it in October means you’re covered through the winter when moisture risk peaks.
What Maintenance Actually Costs
Annual maintenance is cheap; repairs are not. A homeowner who reseals grout and recaulks annually spends roughly $150-$250 over five years. A homeowner who skips it and ends up replacing a shower pan and the first course of tile spends $1,800-$3,500 in the same window. That’s not a scare tactic; it’s the math we see on repair calls across Oakland.
| Service (when done by a professional) | Typical Cost in Oakland |
|---|---|
| Professional reseal of shower grout | $180-$320 |
| Professional recaulk (tub and shower) | $150-$275 |
| Replacing shower cartridge (Moen, Delta, Kohler) | $180-$350 |
| Upgrading exhaust fan to 110 CFM with humidity sensor | $320-$550 installed |
| Replacing failed caulk line and re-sealing shower pan | $400-$700 |
| Shower pan and first-course tile replacement (water damage) | $1,800-$3,500 |
| Replacing supply lines under vanity (three fixtures) | $120-$200 |
Notice the pattern: the small stuff keeps the big stuff from happening. If you’re weighing whether to have a pro handle the annual reseal and recaulk, it’s usually a worthwhile spend in years where you’re stretched for time – the pro has the correct products and knows what a failing joint looks like. Written price before work, no surprises on the invoice.
Common Mistakes to Avoid
- Caulking over old caulk. The new bead adheres to the failing caulk instead of the joint, and it peels off within months. In our experience the number one bathroom maintenance mistake in Oakland is this one; remove old caulk entirely.
- Using bathroom cleaner on natural stone. Marble and limestone vanities and shower walls etch permanently the first time an acidic cleaner touches them. Stick with pH-neutral stone soap.
- Skipping the shower fan because the window is open. A window vents steam in summer, but in Oakland’s fog season the air outside is already damp. Run the fan.
- Ignoring a slow toilet fill. A running toilet burns water and stresses the supply line at the wall; the fail point is usually the connection, not the valve.
- Waiting for grout to visibly crack before resealing. By the time cracking shows, water has been entering for months. Reseal on schedule, not on symptom.
- Discarding spare tiles. Every bathroom remodel leaves 5-10% spare tile. Keep it labeled. Without spares, a single broken tile in year six becomes a whole new floor.
- Bleach on mold without fixing the moisture. Bleach kills surface mold but doesn’t touch the cause. If mold keeps coming back on the same ceiling corner, the fan isn’t pulling enough air.
When you’re starting a remodel, ask about maintenance from day one. Our general contractor in Oakland team includes a maintenance walkthrough in every bathroom handoff, along with the material record and spare tile. If your remodel is paired with a kitchen remodeling in Oakland, the same annual rhythm applies; the maintenance habits carry over.
See the difference
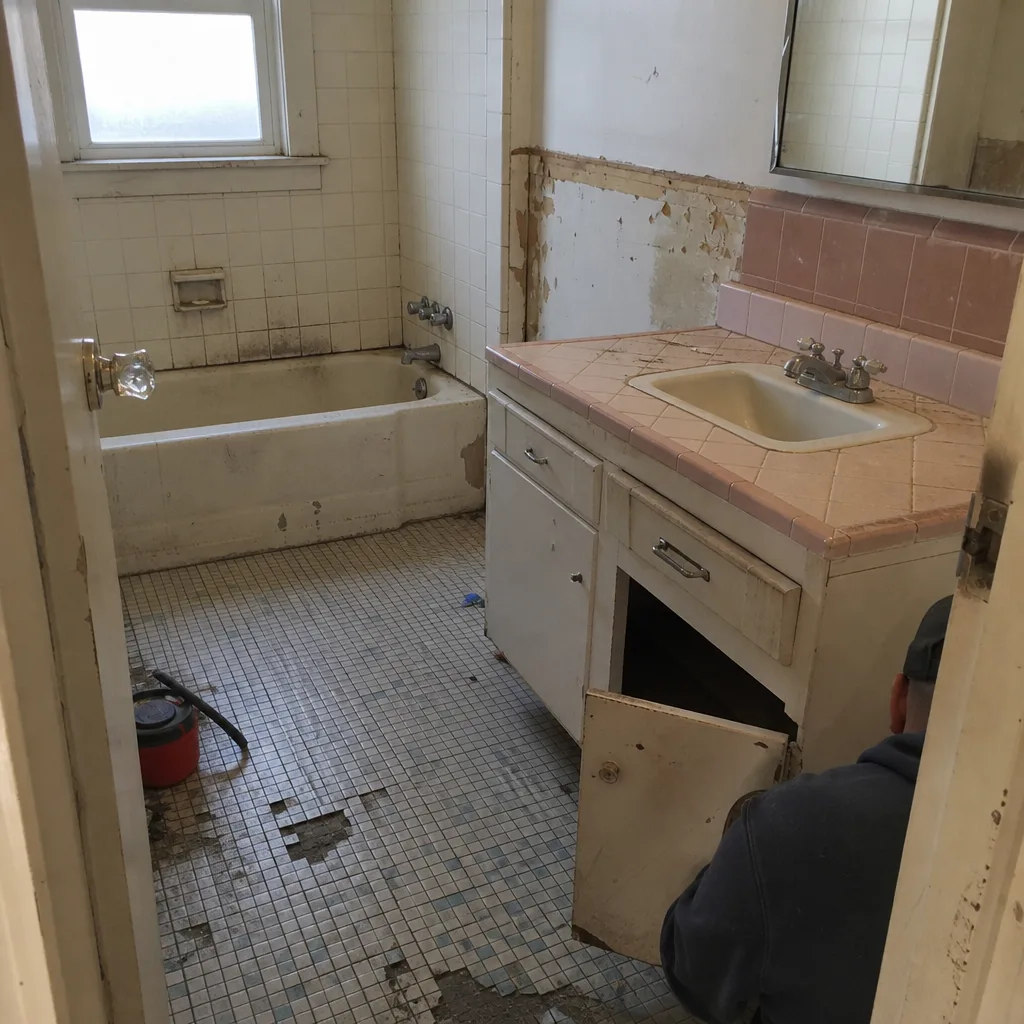 Before
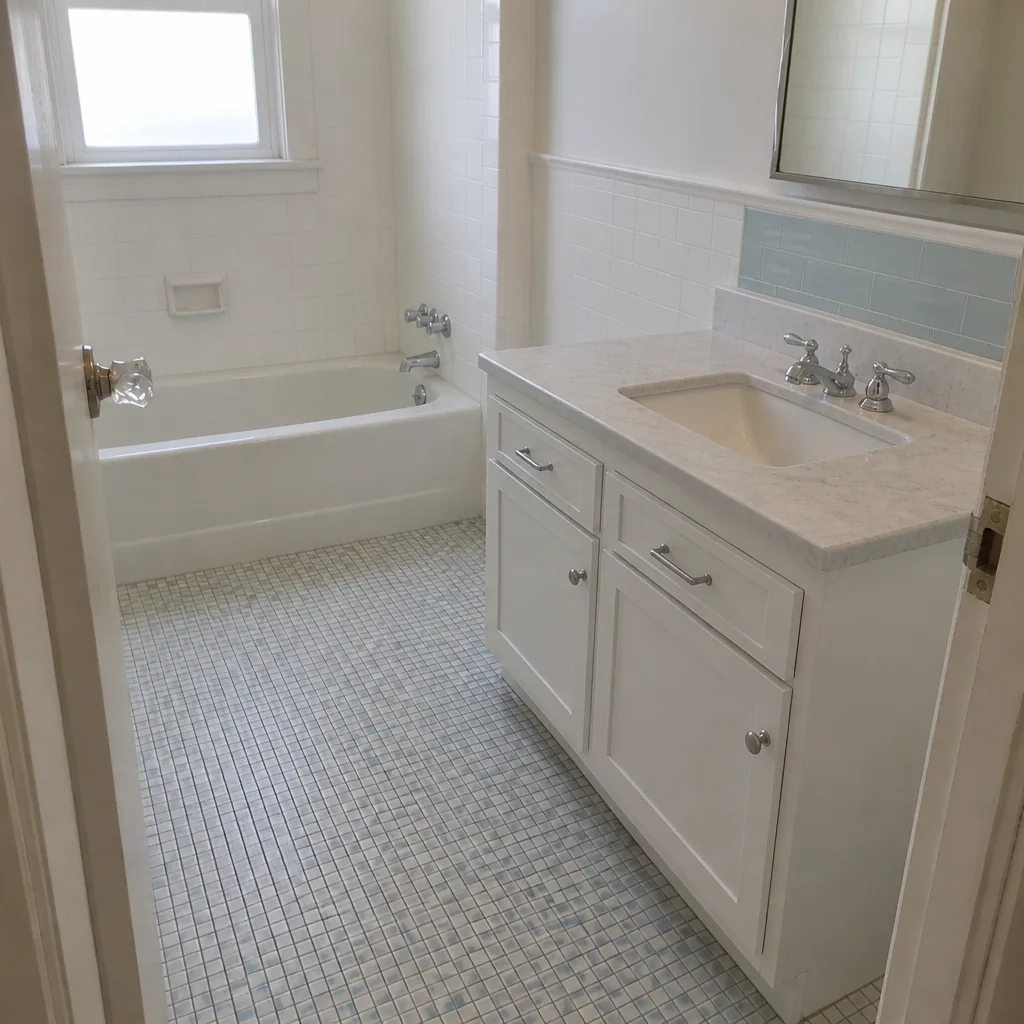 After
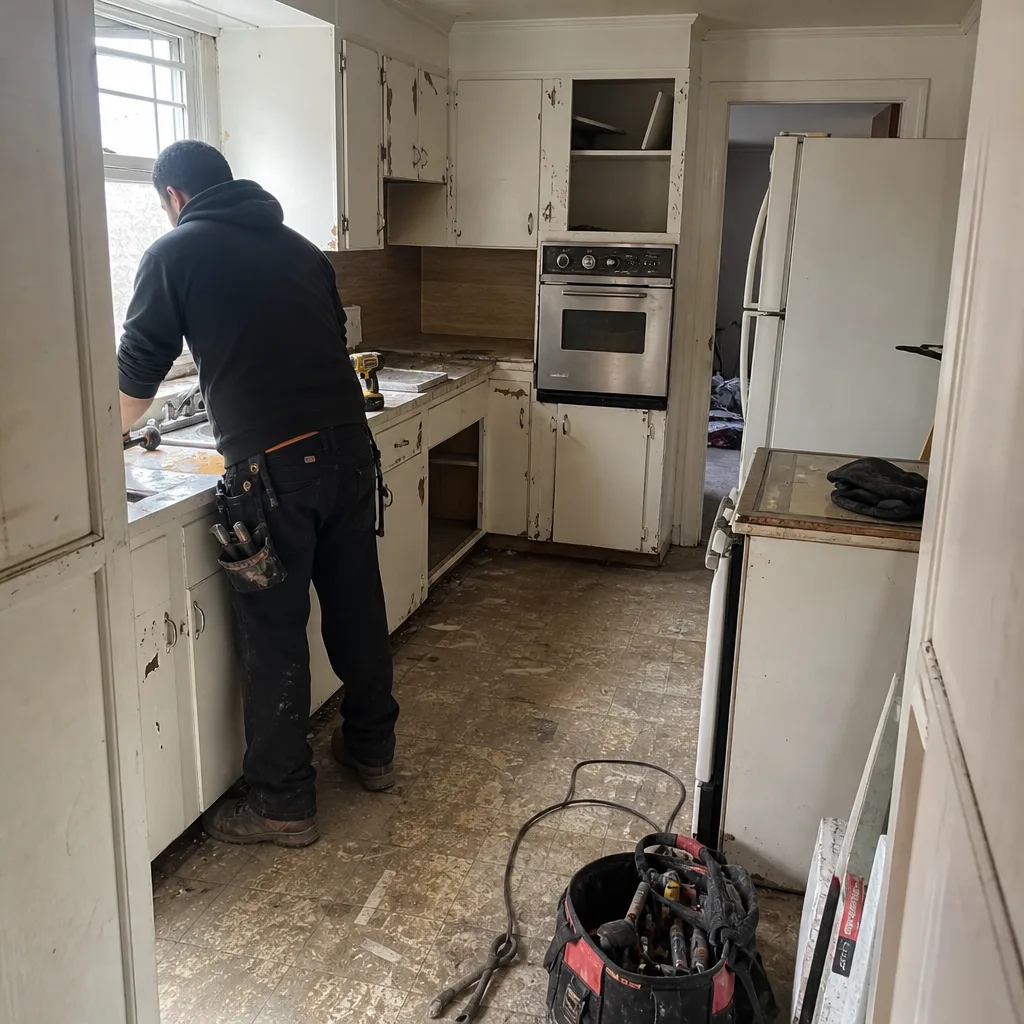 Before
 After
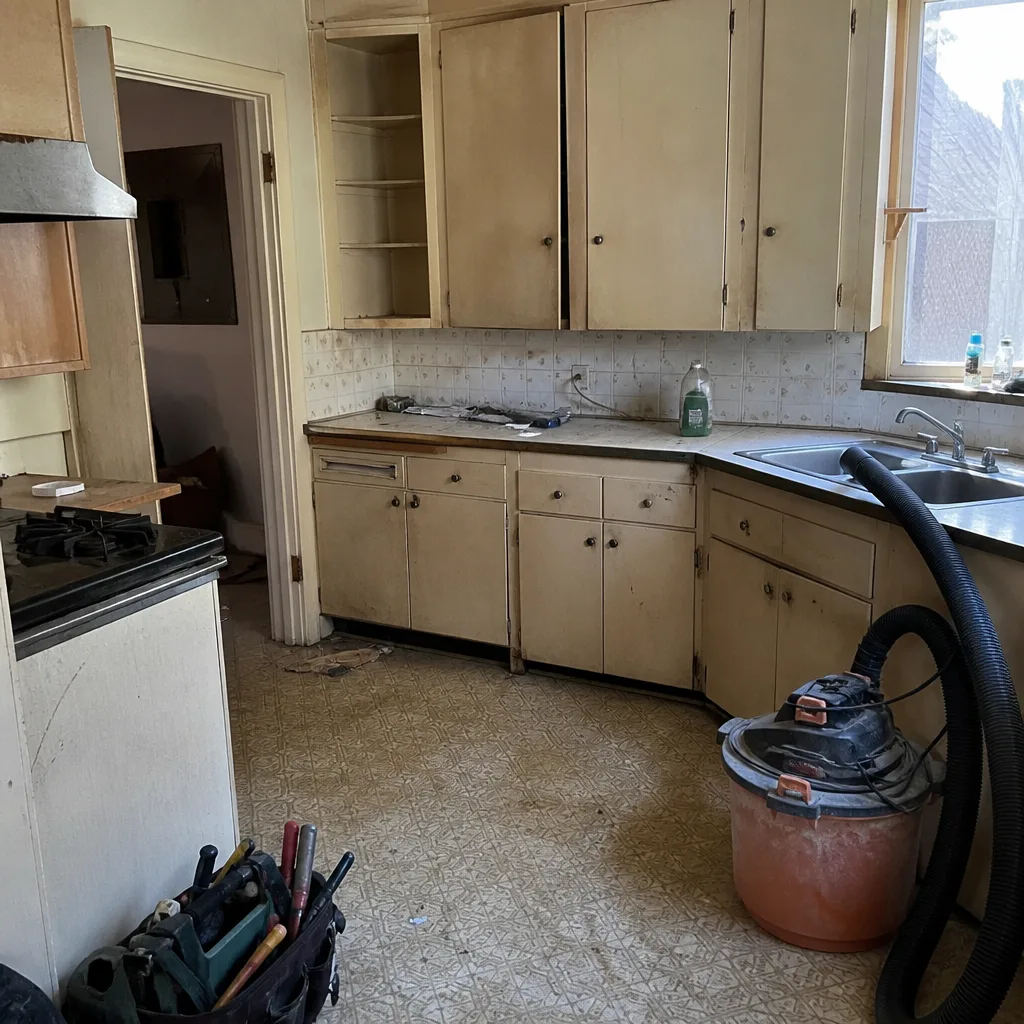 Before
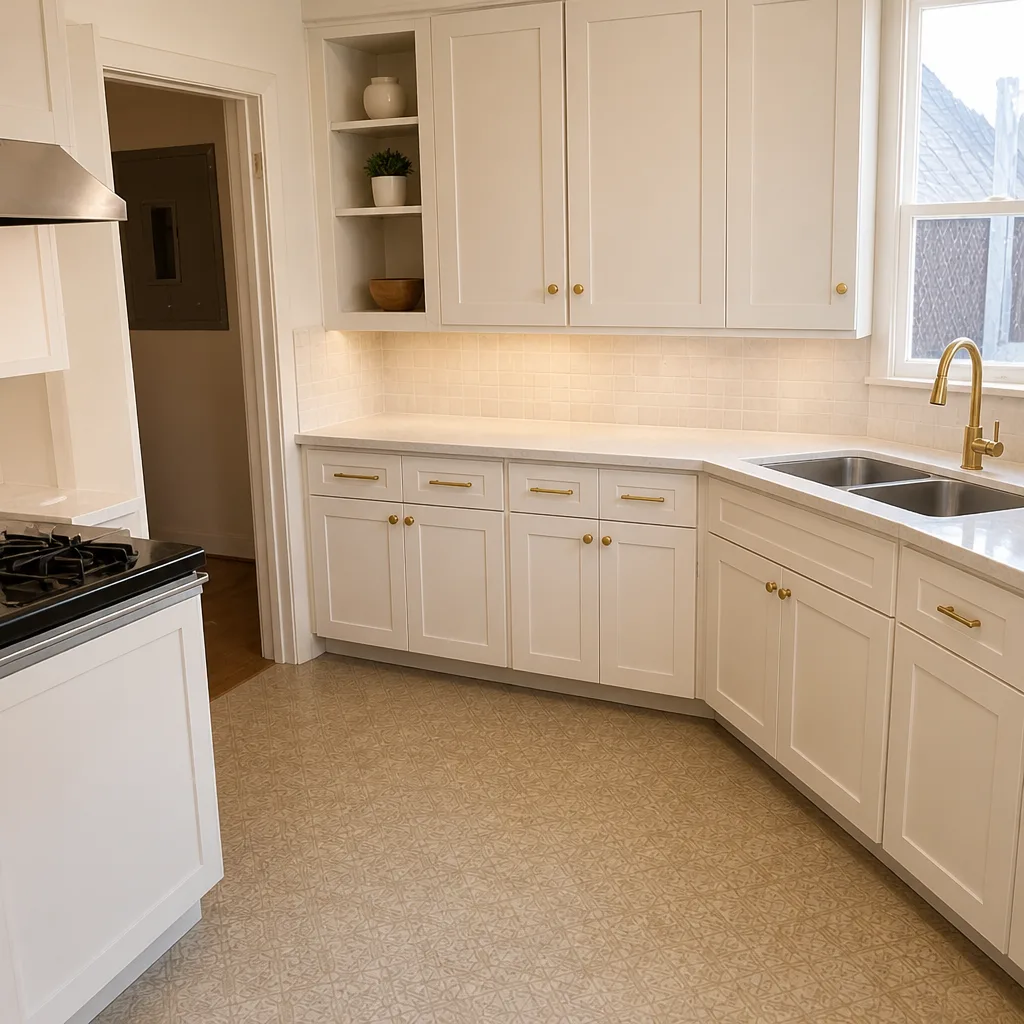 After
When to Call a Professional
Some maintenance jobs are DIY-friendly. Others aren’t. Call us for any of these: water staining or soft drywall on the ceiling below the bathroom, which is a sign of active leakage and needs a real diagnosis; shower pan or curb that flexes underfoot, which usually means the substrate has failed; repeated mold growth despite running the fan consistently; a shower valve that no longer holds temperature; and any visible gap along the base of the shower pan. Electric work behind the exhaust fan, or moving a fan’s duct termination out of the attic, is also a pro job. Penhallow Remodeling Oakland offers free estimates in Oakland – call (888) 403-1237 and we’ll walk through what you’re seeing and give you a written price before any work starts. Our technicians have up to 22 years of experience, arrive in uniform, and are background-checked, so you’ll know who’s walking in the door. Live coverage is 24/7, and a person answers, not a machine.
Frequently Asked Questions
Once a year for the shower and any floor grout. Test before each reseal by dripping water on a dry area: if it beads, the sealer is still working; if it soaks in, reseal. Skip the test and you’ll eventually seal over a still-active sealer, which fails faster than sealing on schedule. Ours grout sealing runs $180-$320 in Oakland, and we’ll tell you honestly if you can wait another year. Call (888) 403-1237 for a free estimate on annual maintenance.
Yes, or close to it – tub and shower perimeter caulk fails faster than any other joint in the bathroom because it flexes with every shower. A fresh bead of 100% silicone in the fall keeps you covered through the wet season. If you’ve got acrylic caulk installed, plan on every 18 months at best. Professional recaulking in Oakland runs $150-$275. Call (888) 403-1237 for an exact quote; estimates are free.
Run the exhaust fan for 20-30 minutes after every shower, wipe down shower walls and glass with a squeegee, and leave the door open a couple of inches while the fan runs. Oakland’s damp winters mean humidity hangs around; the fan does 80% of the work. If you’re seeing recurring mold on the ceiling despite good habits, the fan is likely undersized. Upgrade to 110 CFM with a humidity sensor; that’s $320-$550 installed, and it pays back in the first wet season. Call (888) 403-1237 for a free estimate.
Press on the shower floor near the drain: if it flexes or makes a soft squish sound, the pan or substrate has failed. Other signs are a dark line in the caulk where the pan meets the wall, or water staining on the ceiling below. Don’t reseal over a failed pan; the water will just find another path. Our team diagnoses failed pans with a written price upfront before any work starts. Call (888) 403-1237 for a free estimate.
Skip abrasive cleaners, soft-scrub pads, bleach, and anything acidic on chrome, brushed nickel, or PVD finishes. A pH-neutral spray and a microfiber cloth handle almost all of it. For mineral buildup at the faucet base or around the drain, soak briefly in white vinegar and rinse thoroughly; don’t leave vinegar sitting on the finish. Avoid harsh cleaners entirely on the ceramic cartridge itself, which is where a lot of premature failures start.
DIY, expect $50-$80 a year in products and three to four hours of your time. Done by a professional, annual reseal and recaulk together run $330-$595, and supply-line and fan inspections are usually included in a maintenance visit. That budget is a fraction of what a failed shower pan costs to replace. If you want a written, itemized quote for a full annual maintenance visit, call (888) 403-1237 for a free estimate.
The Bottom Line
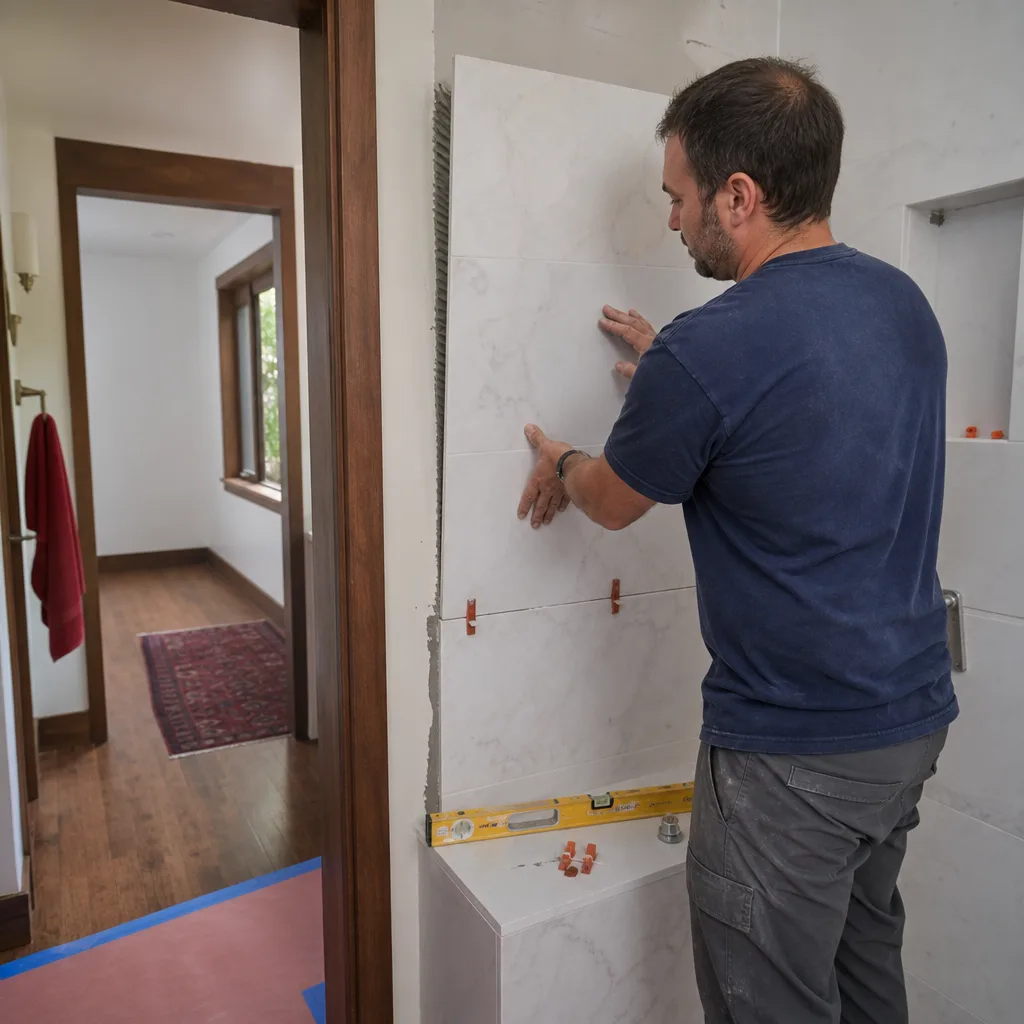
A remodeled bathroom’s lifespan is set by the habits of the first two years. Reseal grout every year, recaulk the tub and shower perimeter annually, inspect supply lines under vanities every six months, and run the fan for a full 20-30 minutes after every shower. Do the 30-60-90 day checks right after the remodel so any early failures are caught while the guarantee is doing its job. Keep a material record so touch-ups are possible in a decade. That schedule is three to four hours a year and about $50 in materials – against a repair bill ten times that if you skip it. You don’t need a perfect bathroom; you need a maintained one.
If you’re weighing a remodel, refinish, or just want a second opinion on something that’s starting to show, Penhallow Remodeling Oakland offers free estimates in Oakland – call (888) 403-1237. We give you a written price before any work starts, arrive in the window we promised, and back every project with the 365-Day Done Right Promise. Every technician arrives in uniform and background-checked, and a real person answers the phone 24/7 – not a voicemail tree. Our countertops come from Cambria, Silestone, and Caesarstone; fixtures from Kohler and Moen. Cabinetry from KraftMaid and Wellborn. Materials that stand behind the guarantee as surely as we do.
Written by the team at Penhallow Remodeling Oakland.